NEWSLETTER
LATEST ARTICLES
A Guide to “R” Ratings for Tiles
16 Jan 2024
A guide on budgeting for home renovations
7 Jul 2023
No products in the basket.

Grouting is one of the final steps of tile installation, it acts as a barrier preventing water from seeping through the gapped lines between your tiles, causing damage to your property and your freshly lain tiles. Grout can also be the finishing touch that really brings your design together, as there’s a wide range of colours you can choose from.
Choosing the right colour of grout is important as it can really make or break the design of a room, so it’s worthwhile to investigate what colour scheme you want for your tiles. You should think if you want your grout to highlight, contrast or blend with your tiles.

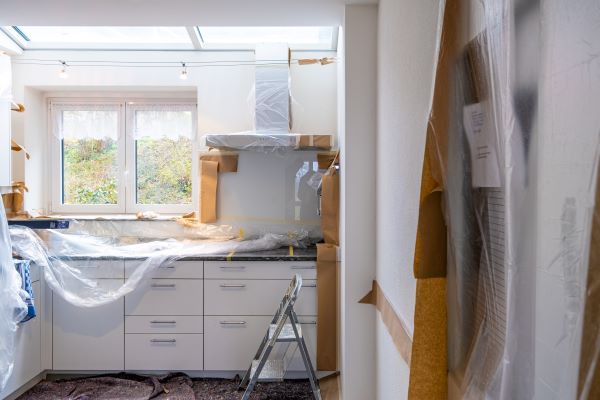
There are a few things you’ll want to check before you do any grouting. Firstly, it’s vital that you make sure your adhesive is completely dry, this is because if it’s still wet you could displace the tiles or weaken the bond between tile and adhesive, meaning they aren’t stuck firm to the wall. Then, check to see if your tiles are dust and debris free before you grout so that it doesn’t obstruct any of the grout lines, specifically check for any left-over spacers that you may have missed removing before as they will make grouting a lot harder and can make it difficult to get your grout level.

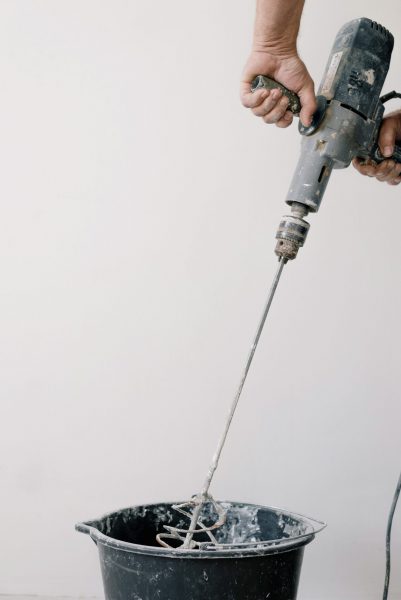
We recommend putting water in your mixing bucket first and then adding the powder after, this is to minimise lumps in the mixture. Always refer to the exact instructions on the bag as ratios can differ between products and sizes and mix at a slow pace to avoid air bubbles from forming and to get a nice smooth paste.
You should occasionally check the consistency of the grout, aim for a smooth peanut butter consistency. Grout that has had too much water added will be liquidy and won’t stick, it’ll shrink and crack if laid. If your mixture does get too watery simply add more powder to the mix to thicken it up. If you add too much powder the mixture will get very clumpy and difficult to mix and work with, and will be soft and crumbly if used. To loosen your grout up add more water to make it softer.
There’s no need to rush this step, take us much time as you need to get the correct consistency for the grout. It’s actually better for the grout if you take this step slowly, as it allows the chemicals in the grout to bond creating a stronger bind.

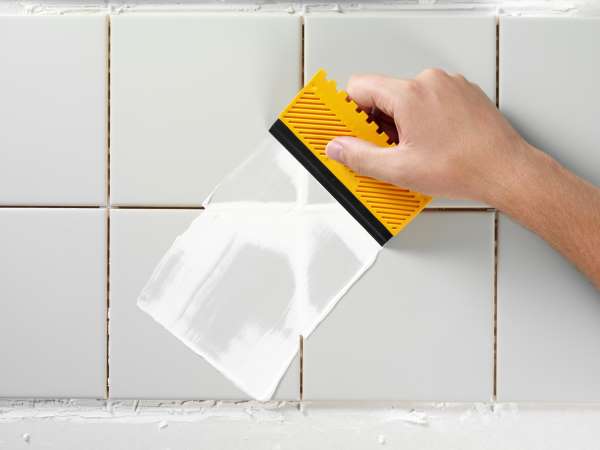
Generously load some mixed grout onto your float, hold at a 45°, and diagonally spread the grout across the joints. Start in one corner and work your way up/down doing the wall in columns, tackling the work like this will make it easier to track what you’ve done if you’re covering a large area. Aim to fill all lines to the same height, you can clear out over-fill with a trowel or even a knife from the cupboard if you can.
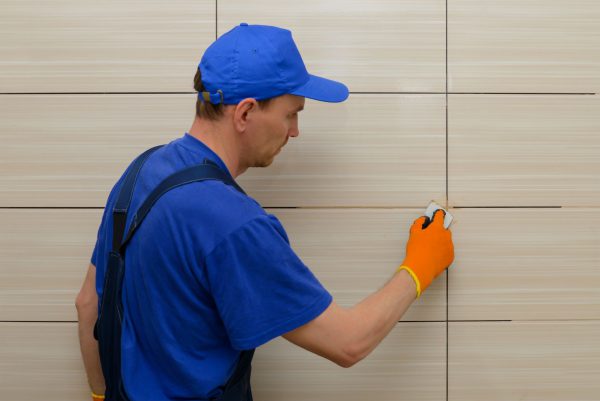
Once you’ve finished grouting allow it to set for about 20 minutes, then get your bucket and sponge out and clean any grout spillage on the surface of the tiles. Be cautious when cleaning around the joints, as you can remove the pigment from the grout leaving white colourless patches. If this occurs, you can get some sandpaper and gently fine the grout down until the spots are gone but do this once the grout has fully dried. Regularly wash out the sponge in the bucket to avoid staining the tiles again.
After 24 hours the grout should have fully set in place, however check the bag for specific timings. If you’ve tiled a bathroom, you should not use the shower for at least 2 weeks. This is because they produce large amounts of water which can pierce through the grout, causing it to soften and crack and undo all the hard work you’ve just put in.

Now you may find yourself needing to reseal your bath or shower, this is done with silicone sealant, not grout. Grab your tube of silicone and cut the tip off of the pointy end and place it into the silicone gun. At a 45° angle apply the silicone slowly in the gaps that need to be filled, a steady hand will keep your lines straight and help with equal application along the lines. If you go slightly off target you can use a silicone shaper tool to make any corrections needed.
16 Jan 2024
7 Jul 2023
© 2024 Home Tiles | Company Reg No 07438591 | VAT No 438506484 | Web design by Citytalk Media


